Installing WordPress Locally: A Beginner’s Guide
Table of Contents
- Introduction
- Advantages and Disadvantages of Local WordPress Development
- Installing Local WordPress
- Setting Up Your Local WordPress Site
- Customizing Your Local WordPress Site
- Transferring Your Site to HostGator Using Duplicator
Introduction
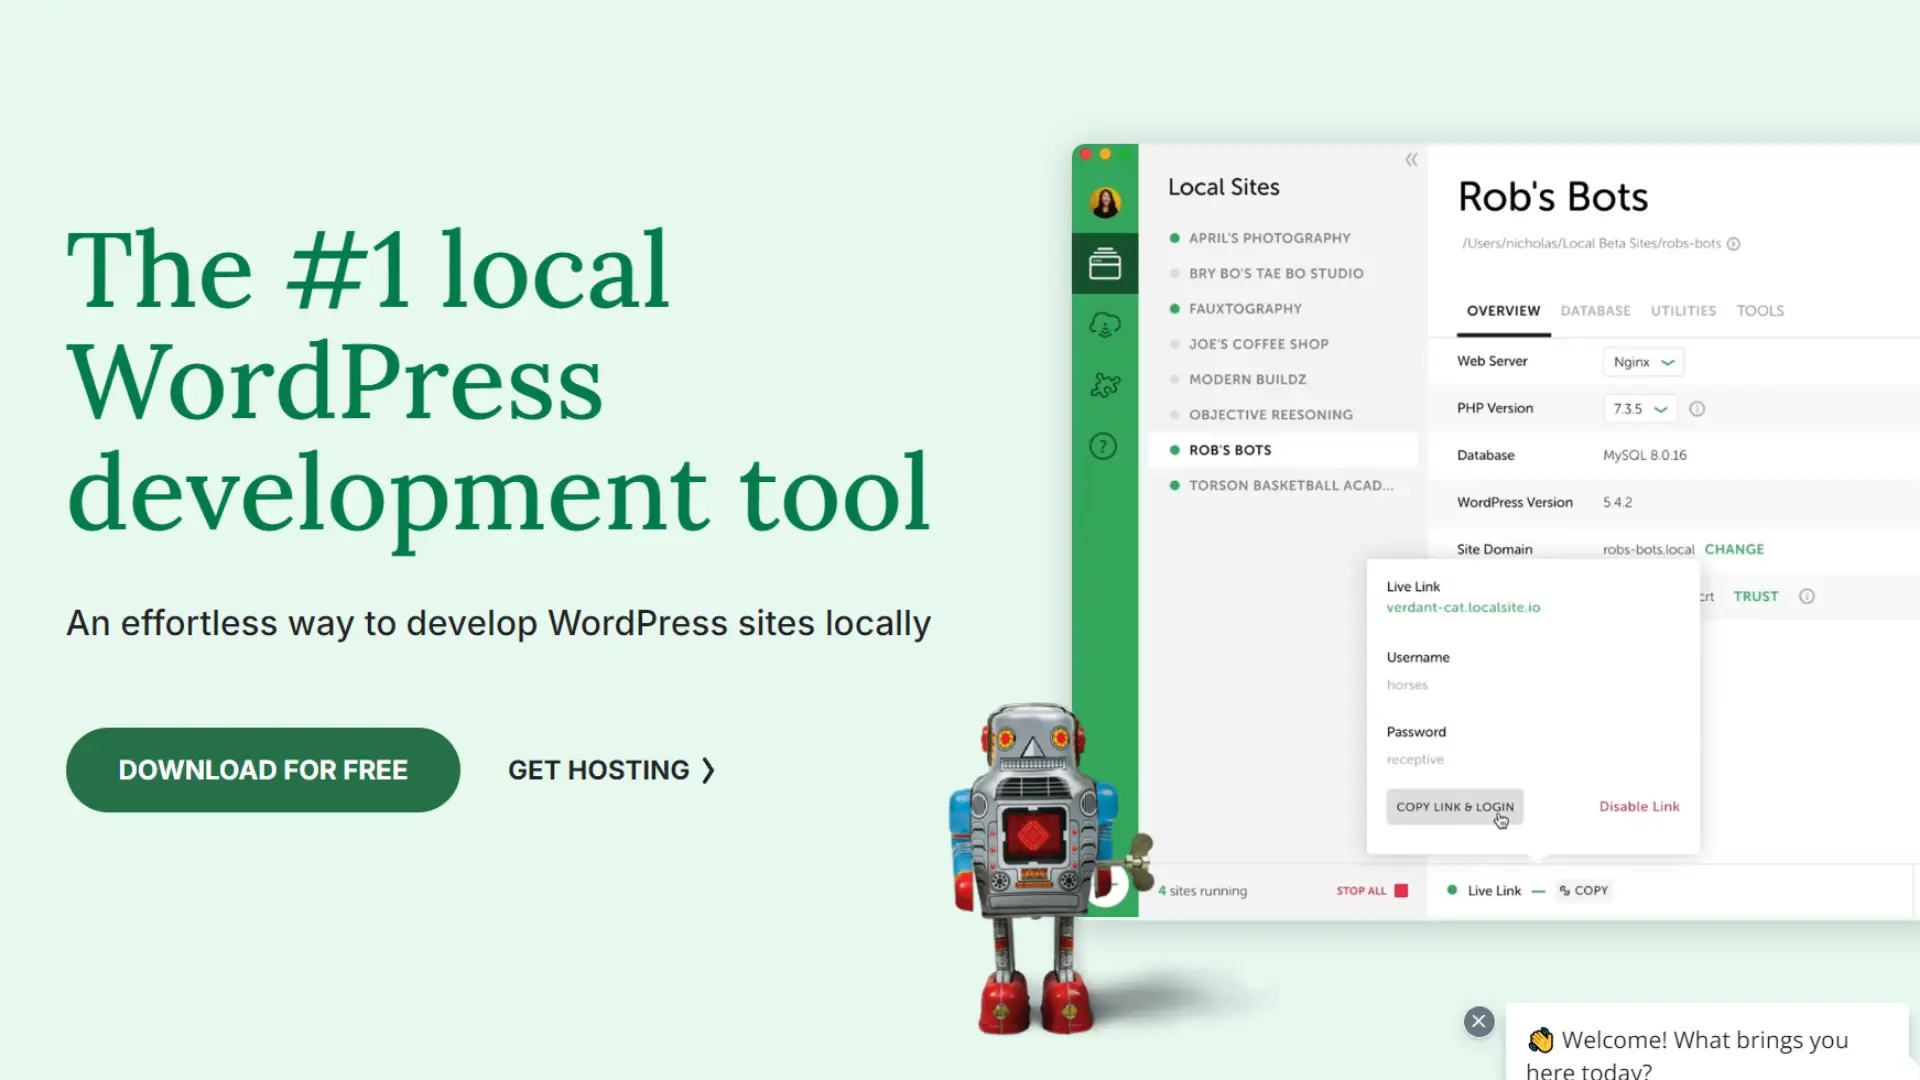
WordPress is a popular content management system that powers millions of websites worldwide. While many users opt to build their WordPress sites directly on web hosting servers, developing locally on your computer offers several advantages. This tutorial will guide you through the process of installing WordPress using the Local WordPress application, a tool designed to simplify local WordPress development.
Advantages and Disadvantages of Local WordPress Development
Before we dive into the installation process, let’s consider the pros and cons of building a WordPress website on a local computer versus a live hosted or shared server on the internet.
Advantages:
- Speed: Local development is typically faster as you’re not relying on internet connection speeds.
- Cost-effective: You can develop and test your site without paying for hosting.
- Offline work: You can work on your site without an internet connection.
- Privacy: Your development work remains private until you’re ready to go live.
- Experimentation: You can freely experiment with themes, plugins, and code without affecting a live site.
Disadvantages:
- Limited accessibility: You can’t easily share your work-in-progress with clients or collaborators.
- Environment differences: Your local setup might not perfectly match your live server environment.
- Additional setup required: You need to set up a local server environment and transfer the site when ready.
- No automatic updates: You’ll need to manually update WordPress, themes, and plugins.
Installing WordPress Locally
Now, let’s proceed with the step-by-step tutorial to install WordPress using Local WordPress.
- Download Local WordPress: Visit the official Local WordPress website and download the application for your operating system (Windows, macOS, or Linux).
- Install Local WordPress: Run the installer and follow the on-screen instructions to install the application on your computer.
- Launch Local WordPress: Once installed, open the Local WordPress application.
- Create a new site: Click on the “+” button to create a new site. Enter “WordPress” as the site name and click “Create site”.
- Configure site settings: In the site settings, ensure that the domain is set to “Local WordPress” and the path points to where you want to store your WordPress files.
- Start the server: Click on the “Start” button next to your newly created site to start the local server.
- Access the WordPress installer: Open your web browser and navigate to “http://localwp.com“. You should see the WordPress installation page.
- Choose your language: Select your preferred language for the WordPress installation and click “Continue”.
- Prepare for installation: On the next screen, click “Let’s go!” to proceed with the installation.
- Set up database information: Local WordPress automatically creates a database for you, so you can leave the default settings. Click “Submit” to continue.
- Run the installation: Click “Run the installation” on the next screen.
- Set up your WordPress site: Fill in the required information, including:
- Site Title
- Username
- Password
- Your Email
Click “Install WordPress” when you’re done.
- Log in to WordPress: After the installation is complete, click “Log In” and enter your username and password.
- Explore your local WordPress site: You now have a fully functional WordPress site running locally on your computer!
Customizing Your Local WordPress Site
Now that you have WordPress installed locally, you can start customizing your site:
- Install themes: Go to “Appearance” > “Themes” in the WordPress dashboard to browse and install themes.
- Add plugins: Navigate to “Plugins” > “Add New” to search for and install plugins that add functionality to your site.
- Create content: Start adding pages and posts to your site by going to “Pages” > “Add New” or “Posts” > “Add New”.
- Customize settings: Explore the various options in the WordPress dashboard to configure your site settings, such as permalinks, user roles, and discussion settings.
Remember, since you’re working locally, you can experiment freely without worrying about affecting a live site.
Transferring Your Site to HostGator Using Duplicator
Once you’re satisfied with your local WordPress site and ready to go live, you can use the Duplicator plugin to transfer your site to HostGator. Here’s how:
- Install Duplicator: In your local WordPress dashboard, go to “Plugins” > “Add New”. Search for “Duplicator” and install and activate the plugin.
- Create a package: In the WordPress dashboard, go to “Duplicator” > “Packages” and click “Create New”.
- Run the scan: Click “Next” to run a scan of your site. If there are no issues, click “Build” to create the package.
- Download the package: Once the build is complete, download both the “Installer” and “Archive” files.
- Prepare HostGator: Log in to your HostGator account and create a new database for your WordPress site.
- Upload files: Use FTP or the HostGator File Manager to upload both the Installer and Archive files to your HostGator public_html directory.
- Run the installer: In your web browser, navigate to the installer file on your HostGator server (e.g., http://yourdomain.com/installer.php).
- Accept the terms: Read and accept the terms and conditions.
- Enter database details: Provide the database name, username, and password for the database you created on HostGator.
- Update data: On the next screen, update the site URL and paths to match your HostGator setup.
- Test the site: Once the installation is complete, test your site to ensure everything is working correctly.
- Clean up: Delete the installer file from your HostGator server for security reasons.
By following these steps, you’ve successfully installed WordPress locally using Local WordPress, customized your site, and transferred it to a live HostGator server using the Duplicator plugin. This workflow allows you to take advantage of the benefits of local development while still being able to easily publish your site when it’s ready.